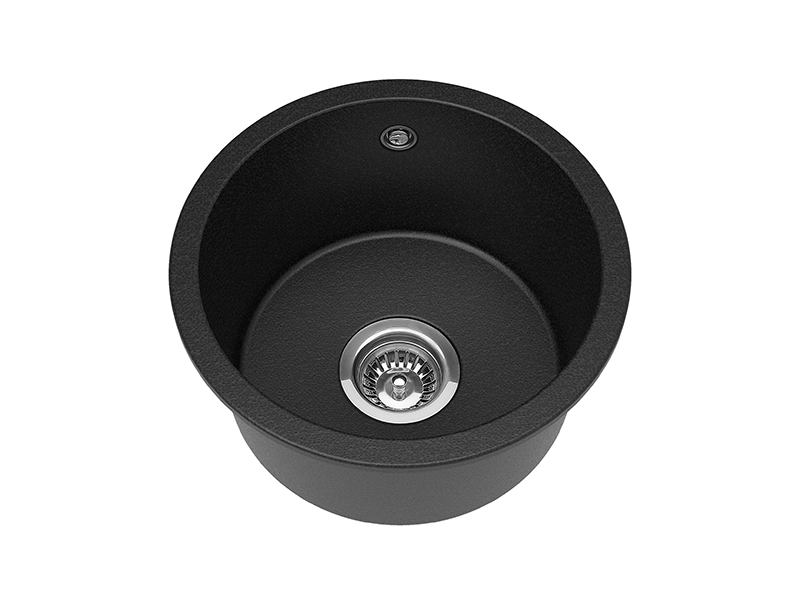
Measuring an Undermount Sink accurately is essential for achieving a perfect fit beneath your countertop. Because this type of sink sits under the surface rather than on top, even a small miscalculation can lead to poor alignment, uneven sealing, or drainage problems. Whether you’re replacing an old sink or planning a new installation, this guide explains exactly how to measure an undermount sink step by step.

Unlike drop-in sinks, Undermount sinks are secured from below the countertop, which means:
The cutout must match the sink size and shape precisely.
The overhang between the sink and countertop edge affects both appearance and usability.
Incorrect sizing can lead to water leakage, uneven sealing, or poor drainage.
Proper measurements ensure the sink fits flush, looks clean, and functions efficiently.
Before taking measurements, prepare the following tools for accuracy:
Measuring tape (preferably metal for precision)
Ruler or straightedge
Pencil or marker for marking measurements
Notepad for recording dimensions
Level (optional for checking countertop alignment)
Having these simple tools helps avoid small errors that could affect installation.
If you’re replacing an old sink, start by measuring the existing countertop opening rather than the sink itself.
Disconnect plumbing and remove the sink to expose the full cutout.
Using a measuring tape, measure the inside edge-to-edge distance of the countertop cutout:
Length (front to back): Measure from the front inner edge to the back inner edge.
Width (side to side): Measure across the widest part of the cutout.
Record both values to the nearest 1/16 inch (1.5 mm).
Measure from the top of the countertop down to where the sink will mount. This determines clearance for plumbing and garbage disposal units.
If the corners of the cutout are rounded, measure the radius curve by placing a ruler along the edge and noting the distance from the corner point to where the curve begins.
This ensures the new sink matches the countertop’s shape.
If you’re installing a new undermount sink and need to cut a fresh countertop opening, follow these steps instead.
Place the sink upside down on a flat surface. Measure:
Overall length and width from outer rim to outer rim.
Bowl depth from the top rim to the bottom of the sink.
Interior dimensions (the space inside the bowl).
The cutout should be slightly smaller than the outer rim to allow for proper mounting.
Typically, subtract 1/4 to 1/2 inch (6–12 mm) from both length and width when marking the cut line.
If the sink includes pre-drilled bracket points, mark their positions on the countertop underside before drilling.
There are three common overhang styles for undermount sinks:
Flush mount: Countertop edge aligns exactly with the sink wall for a sleek finish.
Negative reveal: Countertop extends slightly over the sink edge (recommended for easier cleaning).
Positive reveal: Sink edge is slightly visible beneath the countertop (useful for monitoring seal condition).
Choose your preferred reveal style and adjust the cutout line accordingly before installation.
Even small errors can affect performance and appearance. Pay attention to these details:
Ignoring Countertop Thickness:
Ensure there’s enough clearance between the sink and base cabinet after installation.
Not Allowing Space for Fixtures:
Leave at least 2 inches (50 mm) behind the sink for faucet holes or soap dispensers.
Misaligning the Drain:
Double-check that the drain opening aligns with your existing plumbing to avoid rework.
Overlooking Sink Weight:
Heavy materials like quartz or granite sinks may require extra support brackets under the countertop.
Skipping Template Use:
Most new sinks come with a manufacturer’s template — always verify it before cutting.
| Measurement Type | What to Measure | Recommended Tolerance |
|---|---|---|
| Cutout Width | Inner edge-to-edge distance | ±1/16 inch |
| Cutout Length | Front-to-back inner edge | ±1/16 inch |
| Bowl Depth | Rim to base of sink | ±1/8 inch |
| Reveal Overhang | Countertop overlap | 1/8–1/4 inch |
| Faucet Clearance | Space behind sink | Minimum 2 inches |
Use this chart as a quick checklist during your measuring and cutting process.
Measuring an undermount sink requires accuracy, patience, and understanding of countertop dimensions. By following these steps — measuring both the sink and the cutout, accounting for reveal style, and allowing for mounting space — you’ll ensure a flawless fit.
When done properly, the result is a clean, modern installation that enhances both the functionality and design of your kitchen or bathroom countertop.
Previous: Are Quartz Sinks Hard To Keep Clean